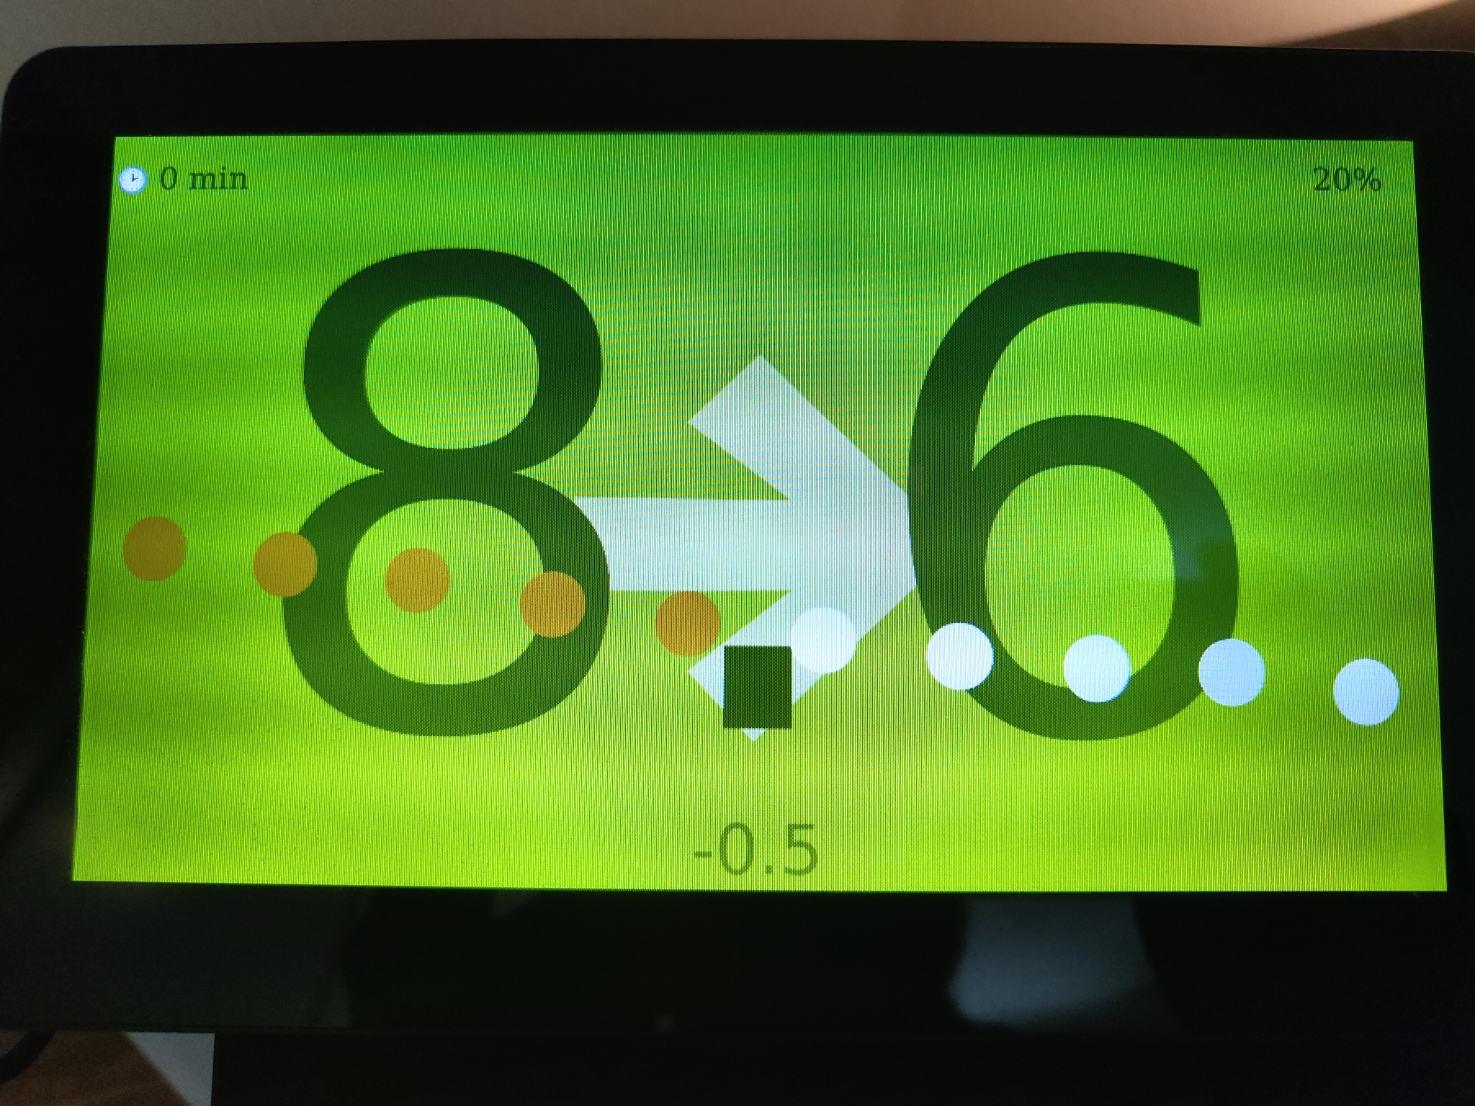
Trndi - CGM Data on Desktop & Raspberry Pi
Creating an always-on display with a RaspberryPi and Trndi
Disclaimer
There’s no guarantee that this setup will work for you, or that it will continue to work with future updates to Linux or similar operating systems. I take no responsibility for any purchases or commitments you make based on this guide.
Hardware
- Aquire a RaspberryPi (tested on RPi4 Model B)
- Aquire a power supply (eg by getting a Rpi kit with a charger included)
- Aquire a screen
- An old screen
- A touch screen from a retailer, 7” is a good size
Setup
- Install a Linux distro, this guide uses Raspbian
- Connect via TigerVNC and setup the system to your liking
- Make sure Qt is installed, in a terminal run:
sudo apt update sudo apt install -y \ libqt6core6 libqt6gui6 libqt6widgets6 libqt6network6 \ libcurl4 ca-certificates \ libxcb1 libx11-6 libxext6 libxrender1 libxrandr2 \ libfontconfig1 libfreetype6 libdbus-1-3 -
Install the Qt6Pas library with ```apt install libqt6pas6
- In this repo, visit the latest release, and down load the arm64 package:
trndi_X.Y.Z_arm64.deb - Install the package via GUI, or via
dpkg -i <package name>
# Running Trndi
- Start Trndi from the menu;
Top-left Menu > Accessories > Trndi - Setup as you’d do on your desktop
- Once up, right-click Trndi and choose
Full screen
## Done! You now have an always-on display
My setup
This setup is overly advanced and is just provided as an example of what you can do ## Hardware I use a RaspberyPi 4B with 4GB RAM, and a HDMI/USB touch screen ## Setting up the SD card
- Download/Install the Raspberry Pi Imager version 2 or later
- Insert your (16GB or larger) SD card
- install Raspberry Pi OS Lite (64bit) (found under “Raspberry Pi (other)”).
- Setup Wifi and Enable SSH in the guide
- Write the image
- Let it verify, and remove the SD card when asked to ## Setting up the Raspberry
- Boot the new SD card and make note of the IP address (The display will say “My IP address is…”)
- SSH into the IP address and update apt:
apt update- Install KDE and dependancies:
sudo apt install kde-standard libqt6pas6to install KDE and Trndi dependanciessudo reboot, and reconnect when the pi is online againsudo install lightdmto install a login manager. Chose lightdm in the popup when asked- Set these in
sudo raspi-config:
- System options > Boot: Set GUI
- Advanced Options > Wayland: Set Labwc
- Interface Options > VNC: Enable VNC (allow the APT install that triggers)
- Reboot the system:
sudo reboot
- NO GUI? See this note: LightDM Bug
- Log in using your keyboard/mouse - or connect via VNC.
## Install Trndi
You can use your browser and the GUI for this too! ### SSH install
- Go to Latest Downloads
- Get the URL to the ARM release (eg
trndi_4.2.200_arm64.deb)- Download it:
wget <URL>- Install it
sudo dpkg -i <filename>## Run Trndi In KDE:s menu, navigate to Utilities and find Trndi.
## Extra Notes
### Power saving
You should disable power saving so that the Pi won’t enter sleep mode!
### LightDM Bug
There’s a bug in the current Raspberry Pi OS that makes lightdm fail. To fix it, edit /etc/lightdm/lightdm.conf, locate the line:
greeter-session=pi-greeter-labwc
and change it to
greeter-session=lightdm-greeter
You can also use SSDM, but that will break VNC support!